

The Detail Doc Blog
Can You Remove Car Window Tint?: A Step-by-Step DIY Guide
(989) 244-0505 GET SCHEDULED NOWIf the dull look of your car's window tint is starting to bother you or it is just time for a change, you have come to the right page. Even the glossiest car models can lose their luster due to the worn-out appeal of window tints. But worry not! Find out if you can remove the window tint from a car yourself or if you need to hire a professional.
So buckle up; we're about to navigate through the remarkably straightforward process of stripping away that aged
car window tint in this comprehensive guide. Your journey towards an enhanced driving experience commences here.
Initial Setup for Window Tint Removal
Before embarking on the journey of removing your car's window tint, it's essential to set up your workspace properly. This initial setup will ensure a smoother and more efficient process. Here are the steps to follow:
1. Gather the Necessary Tools: Start by collecting all the tools and materials required for the window tint removal process. You'll need a razor blade or scraper, soapy water or adhesive remover, a heat gun or hairdryer (if necessary), microfiber towels, and gloves to protect your hands. Having these items ready beforehand will save you time and frustration during the actual removal process.
2. Choose the Right Workspace: Find an area where you can comfortably work on your car, preferably in a well-ventilated space or outdoors. Removing window tint can be messy, so selecting an area that is easy to clean afterward is advisable. Additionally, ensure there is enough room for you to move around the vehicle freely without any obstructions.
3. Protect the Interior: Before starting the removal process, take precautions to protect your car's interior from any potential damage. Cover the seats and dashboard with old sheets or blankets to prevent them from getting wet or damaged by cleaning solutions. It's also a good idea to remove any personal belongings from the car to avoid accidental splatters or scratches.
4. Safety Measures: It's crucial to prioritize safety throughout the tint removal process. Wear protective gloves to shield your hands from chemicals or sharp tools. If you're using a heat gun or hairdryer, use it cautiously and avoid prolonged exposure to high temperatures, as it may cause damage to your car's windows or interior.
With the initial setup completed, you can proceed to prepare your car for window tint removal.
Car Preparation
Properly preparing your car before beginning the window tint removal process is essential. This preparation ensures that the adhesive on the tint film is softened, making it easier to remove. Follow these steps to get your car ready:
1. Clean the Windows: Start by thoroughly cleaning both the inside and outside surfaces of the windows. Use a non-abrasive glass cleaner or a mixture of mild soap and water. Remove any dirt, debris, or loose particles from the window surface, ensuring a clean and smooth starting point for the removal process.
2. Roll Down the Windows: Roll down all the windows partially to access the edges of the tint film more easily. Partially rolling down the windows allows you to reach and work on all areas that require tint removal.
3. Heat Up the Tint: Use a heat gun or hairdryer to apply heat to the tinted areas of your car's windows. The heat helps soften the adhesive on the film, making it easier to peel off later. Be cautious not to overheat or damage the glass during this process.
4. Allow Time for Heating: After heating each section of tint, allow it some time to cool slightly before proceeding with removal. This cooling period allows the adhesive to become more pliable and easier to work with.
Choosing the Right Products and Tools
Gathering the appropriate supplies and equipment is essential before starting the process of removing car window tint. By utilizing the appropriate supplies, you can ensure an effective and hassle-free removal process.
- Soap or Window Cleaner: Choose a mild soap or a specific window cleaner designed to dissolve adhesives without damaging surrounding surfaces.
- Razor Blade or Scraper: This tool helps in gently scraping off the tint film from the glass surface. Ensure that it has a sharp blade for smooth and effective removal.
- Paper Towels or Microfiber Cleaning Cloth: These materials come in handy for wiping away any residual adhesive or cleaning solution during the process.
- Garbage Bags: It's wise to line your work area with garbage bags to easily dispose of removed tint pieces and prevent them from getting scattered around.
- Ecoclean Gluoff (Optional): This particular product is known for its effectiveness in loosening adhesive bonds during tint removal. It can simplify the process and save time.
Consider these supplies as your arsenal when taking on the challenge of removing car window tint. By having them readily available, you'll be well-prepared to tackle each step of the process with confidence.
Step-by-Step Guide to Removing Car Window Tint
When it comes to removing car window tint, it's crucial to approach the process carefully and methodically. While it is recommended to leave this task to a professional, there are methods you can implement yourself, following similar techniques used by the experts. Removing car window tint requires a systematic approach to ensure the best results. Here is a step-by-step guide to help you navigate through the removal process:
- Prepare Your Work Area: Park your car in a shaded and well-ventilated area to avoid direct sunlight, which can cause the adhesive to harden. Line your work area with garbage bags or newspapers to catch any debris.
- Gather the Necessary Tools: Before you begin, ensure you have all the required tools handy. These typically include a razor blade, soapy water or adhesive remover spray, a heat gun (if necessary), and a clean cloth or shop rag.
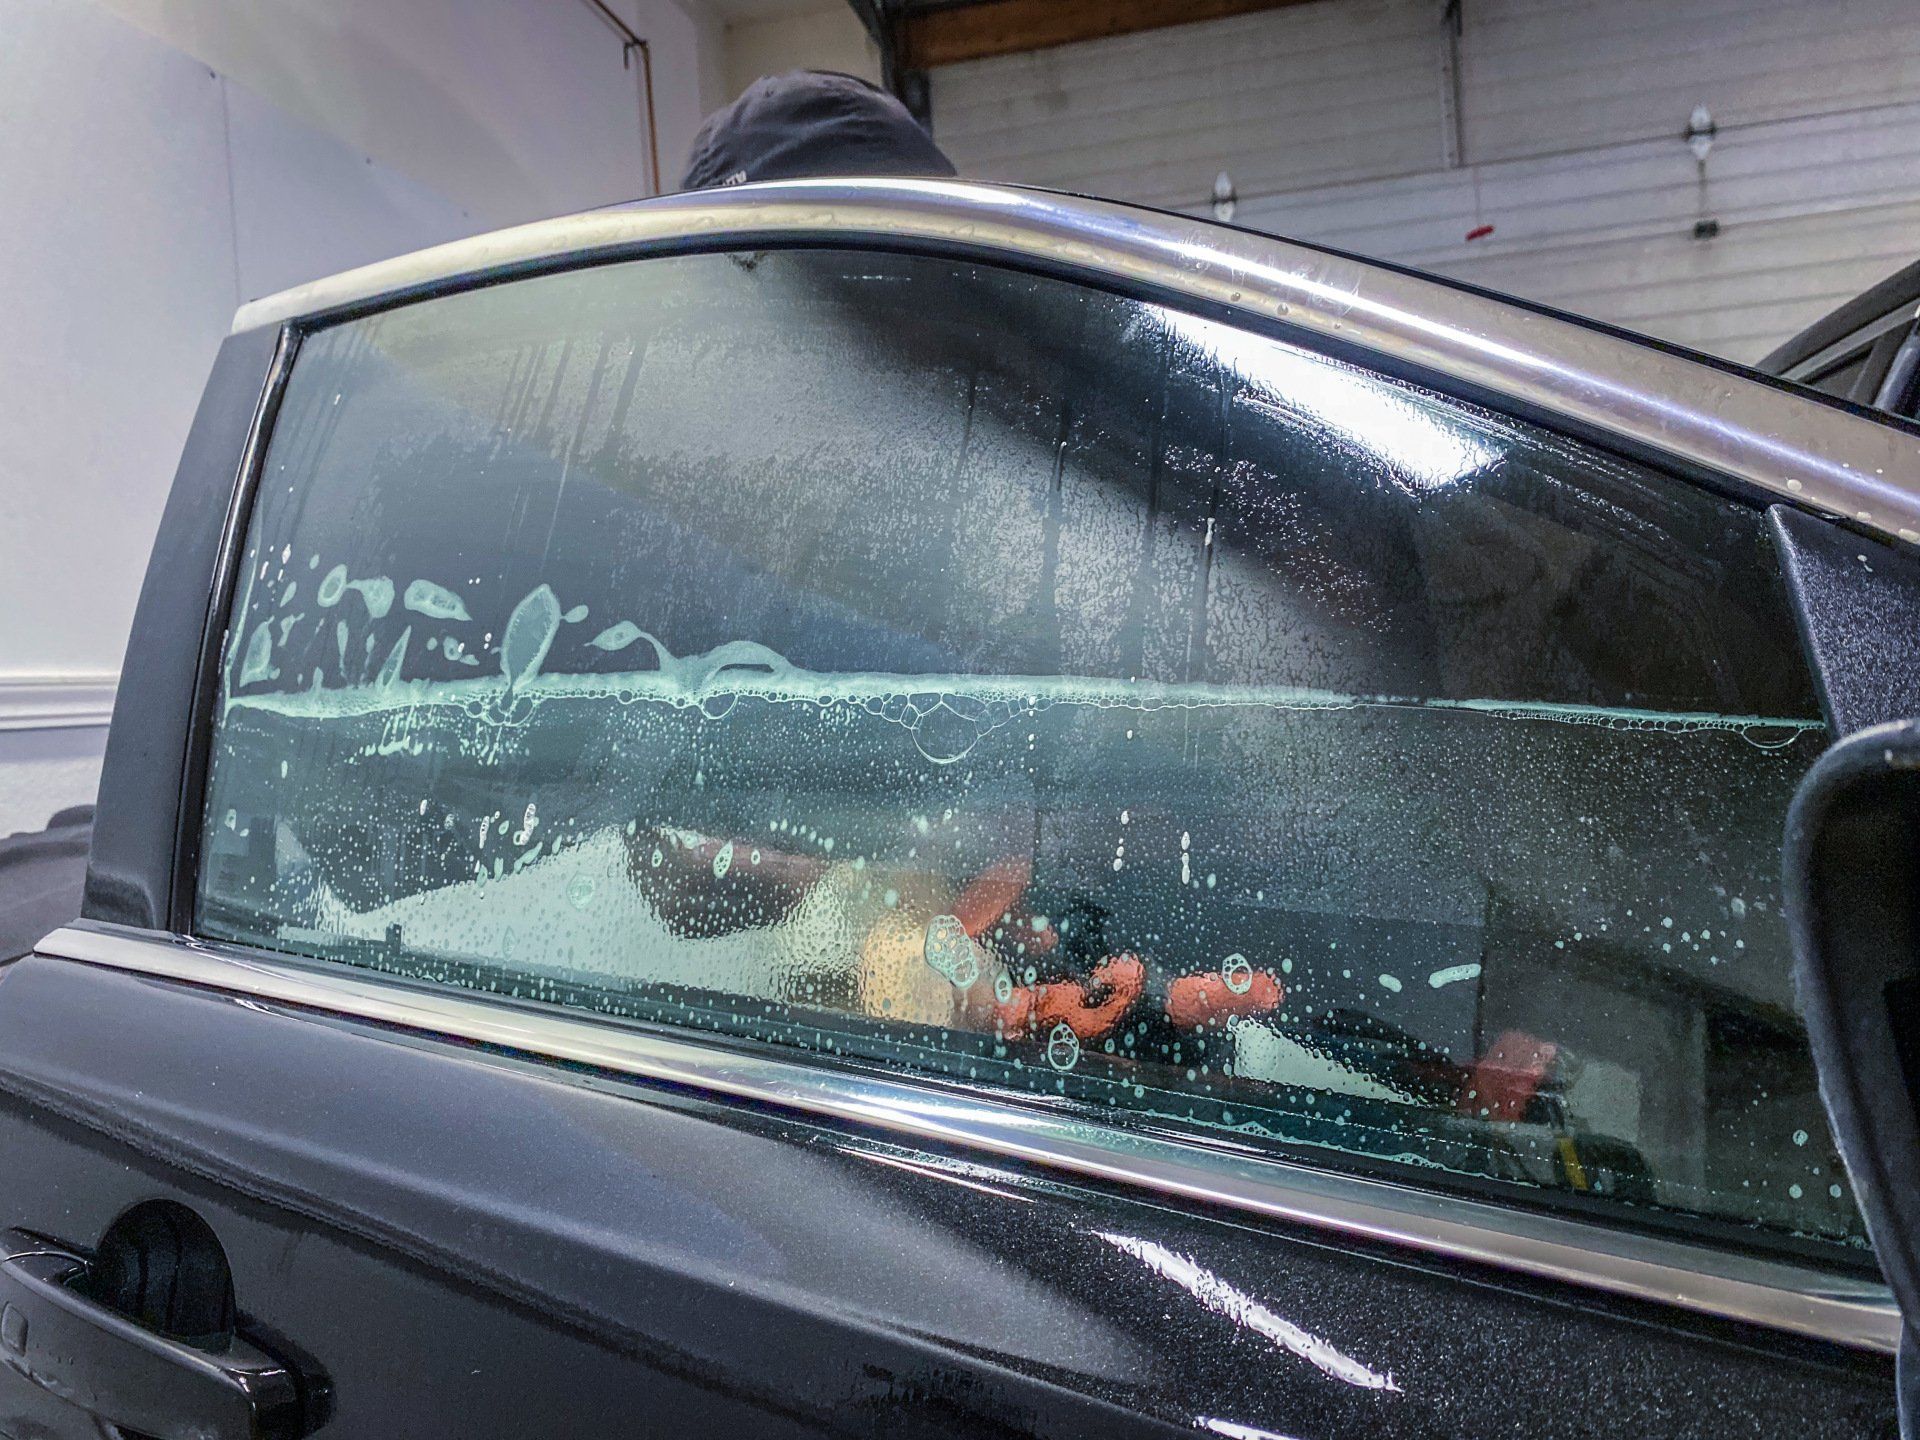
- Spray the Window with Soapy Water: Liberally spray a mixture of mild soap or window cleaner and water onto the inner side of the window. This helps loosen the adhesive and makes the removal process smoother.
- Cover the Wet Glass with Garbage Bags: Place a black garbage bag over the sprayed window, ensuring it adheres tightly and covers the entire surface. This step creates a greenhouse effect, intensifying heat and humidity to loosen the tint adhesive.
- Wait for About 30 Minutes: Allow the moisture and heat created by the garbage bag to soften the adhesive bond between the tint film and glass.
- Start with a Corner: Begin at one corner of the window and use your razor blade to lift an edge of the tint film. Be cautious not to scratch the glass while doing so. If the tint is stubborn and doesn't lift easily, you might need to use a heat gun to soften the adhesive beneath.
- Pull off the Tint Film Gradually: Once you have successfully lifted a corner, grasp it firmly and slowly pull away from the glass surface at a consistent angle. Apply steady tension while working across each section until all remnants are removed.
- Remove Residual Adhesive: After removing the tint film, you may notice some adhesive residue left on the glass. Spray an adhesive remover or soapy water on the area and let it sit for a few minutes.
- Scrape off Remaining Adhesive: With your razor blade held at a slight angle, gently scrape off any remaining adhesive from the window surface. Be careful not to apply excessive force that could damage or scratch the glass.
- Wipe Down with Soapy Water or Window Cleaner: Finally, thoroughly clean both sides of the window using soapy water or window cleaner and paper towels or a microfiber cloth to remove any leftover residue.
By following these step-by-step instructions, you'll be able to remove car window tint effectively and restore the appearance of your windows. Remember to approach each step with care and patience for the best possible outcome.
Alternate Methods for Removing Tint
While the previous section discussed the most common and recommended method using a razor blade and adhesive remover, there are a few alternative techniques worth considering. These include:
- Using Goo Gone: Goo Gone is a popular adhesive remover that can effectively dissolve the sticky residue left behind by window tints. Apply the Goo Gone to the adhesive residue, let it sit for a few minutes, and then gently wipe it away with a cloth or shop rag.
- Using lighter fluid: Lighter fluid can also be effective in breaking down adhesive residue. Apply a small amount to a clean cloth or shop rag and gently rub it onto the affected areas. The adhesive should start to loosen, allowing you to wipe it away.
- Using rubbing alcohol: Rubbing alcohol is another household item that can help remove window tint adhesive. Just like with Goo Gone or lighter fluid, apply some rubbing alcohol to a cloth or shop rag and gently rub it onto the adhesive residue until it dissolves.
It's important to note that whichever alternate method you choose, make sure to test it in a small, inconspicuous area of your car window first to ensure compatibility with your glass type.
While these alternate methods may be convenient options, providing alternatives to the traditional razor blade approach, it's essential to exercise caution and carefully follow instructions to avoid any damage to your car's windows and surrounding components. Additionally, always prioritize your safety by wearing gloves when handling chemicals or sharp tools.
Safety Measures and Post-Removal Cleanup
Ensuring your safety during the window tint removal process is of utmost importance. Taking proper precautions will not only protect you but also prevent any potential damage to your car or surroundings. Before diving into the steps, let's highlight some essential safety measures to keep in mind.
First and foremost, it is crucial to protect your eyes and skin from any potential harm. Always wear safety goggles to shield your eyes from flying debris or adhesive residue that may splatter during the removal process. Additionally, wearing gloves will protect your hands from any harsh chemicals or sharp tools used in the procedure.
To minimize the risk of inhaling potentially harmful fumes or chemicals, it is advisable to work in a well-ventilated area or open all the windows of your car. This will help dissipate any strong odors emitted by adhesive removers or cleaning agents used during the process.
Once you have successfully removed the window tint, it's crucial to ensure that no residue or adhesive remnants are left behind on your windows.
To begin with, check for any lingering traces of adhesive on the glass surface. If you spot any residue, gently scrape it off using a razor blade at an angle, taking care not to scratch the glass itself. It is recommended to apply a small amount of adhesive remover or lighter fluid to the glass before scraping for easier removal.
Next, use a microfiber cloth or shop rag to wipe away any remaining adhesive or cleaner from the windows. Make sure to thoroughly clean the glass, removing all traces of residue. You can also use isopropyl alcohol or a glass cleaner to achieve a streak-free finish.
Once you have completed the cleaning process, it's important to dispose of any removed tint remnants or waste materials properly. Place them in a sealed bag or container before disposing of them according to local regulations.
In conclusion, by prioritizing safety measures such as wearing protective gear and working in a well-ventilated area, you can confidently navigate the window tint removal process without compromising your well-being. Additionally, thorough post-removal cleanup ensures that your windows are left spotless and free from any remnants.
Final Words
Window tint removal should always be left to professionals due to their expertise and specialized tools. Professional tint removal ensures precision while minimizing risks like cracking the glass or torn tint film. They also have all necessary safety measures in place, such as protective gear for optimal disposal, making this an effortless process that saves both time and money with guaranteed results that save car owners both headaches and hassles in the process.
At The Detail Doc, we understand the importance of a crystal-clear view while on the road. Our expertise in window tinting ensures your vehicle maintains its allure, free from any eyesores. While our DIY guide empowers you to tackle tint removal, remember that our professionals are always here to provide expert assistance.
For those who prefer a seamless experience, visit our website to
schedule an appointment. Discover a range of services tailored to enhance your driving experience. Trust us to bring back the gleam to your ride, ensuring you hit the road with clarity and style. Your journey to a clearer view starts with The Detail Doc!
The Detail Doc Blog