

Plunging into the world of do-it-yourself (DIY) sometimes feels like navigating an ocean without a compass. Especially when it comes to DIY car window tinting, it might seem intimidating, but with the right knowledge and tools, it's less mystical than you think.
Welcome aboard on this journey, where we provide step-by-step guidance that will empower you to be your own tint-savvy captain at sea.
Initial Preparation for the Tinting Process
Before diving into the
car window tinting process, it's crucial to prepare properly. Taking these initial steps will ensure a smoother and more successful tinting experience.
Firstly, gather all the necessary equipment and materials you'll need for the task. This includes window film, a heat gun or hairdryer, a squeegee, a spray bottle filled with soapy water, a utility knife or razor blade, and lint-free cloths.
Next, find a well-ventilated area to work in, preferably away from direct sunlight. This will minimize the risk of dust particles or debris sticking to the tint film during installation. Additionally, make sure your vehicle is clean both inside and out before proceeding.
Lastly, familiarize yourself with any local
laws or regulations regarding window tinting. Different states have specific guidelines on how dark you can go with your tint and where it is allowed on the vehicle. Adhering to these guidelines will prevent potential legal issues down the line.
Cleaning the Window Surface Pre-Tint
Once you've completed the initial preparation for the tinting process, it's time to cleanse the window surface thoroughly. This step is crucial, as any dirt, dust, or residue left behind can affect the adhesion of the tint film.
Start by using an automotive glass cleaner and a lint-free cloth to clean both sides of the windows. Wipe meticulously in a circular motion to remove any smudges or fingerprints. For stubborn grime or adhesive residue from previous window stickers or decals, carefully use a razor blade or utility knife to scrape it off.
Imagine you're preparing to tint your car windows during the summer when bugs are rampant. It's important to wash your vehicle thoroughly beforehand, ensuring there are no pesky insect remnants left on the windows that could impact your final results.
After cleaning with glass cleaner, wipe the windows down with a lint-free cloth to ensure they're completely dry. This step is essential, as any moisture left behind can create air bubbles or affect the adhesion of the tint.
With the window surface properly cleansed, we can now move on to the next step in the DIY car window tinting process: picking the right tint material.
Picking the Right Tint Material
Choosing the appropriate tint material is a crucial step in achieving a successful car window tinting project. There are various types of window films available, each with its own unique features and benefits. Consider factors such as the level of heat rejection, UV protection, privacy, and aesthetic appeal when selecting the tint material for your vehicle.
For instance, if you live in an area with scorching summers, prioritizing heat reduction would be wise. In this case, opt for a tint film that offers high heat rejection to keep your car's interior cool and comfortable during hot weather. On the other hand, if you value privacy and want to protect your vehicle's contents from prying eyes, choose a darker tint or a reflective film that provides increased obscurity.
It's also essential to research local laws and regulations regarding window tint and darkness limits. Different states and countries have specific regulations on how dark window tints can be legally applied. Adhering to these guidelines will prevent any potential issues with law enforcement and ensure your tint is within the legal limits.
Keep in mind that different brands may offer varying quality levels of tint material. Reading customer reviews and seeking recommendations from automotive professionals can help you narrow down your options and choose a reputable brand known for delivering durable and long-lasting products.

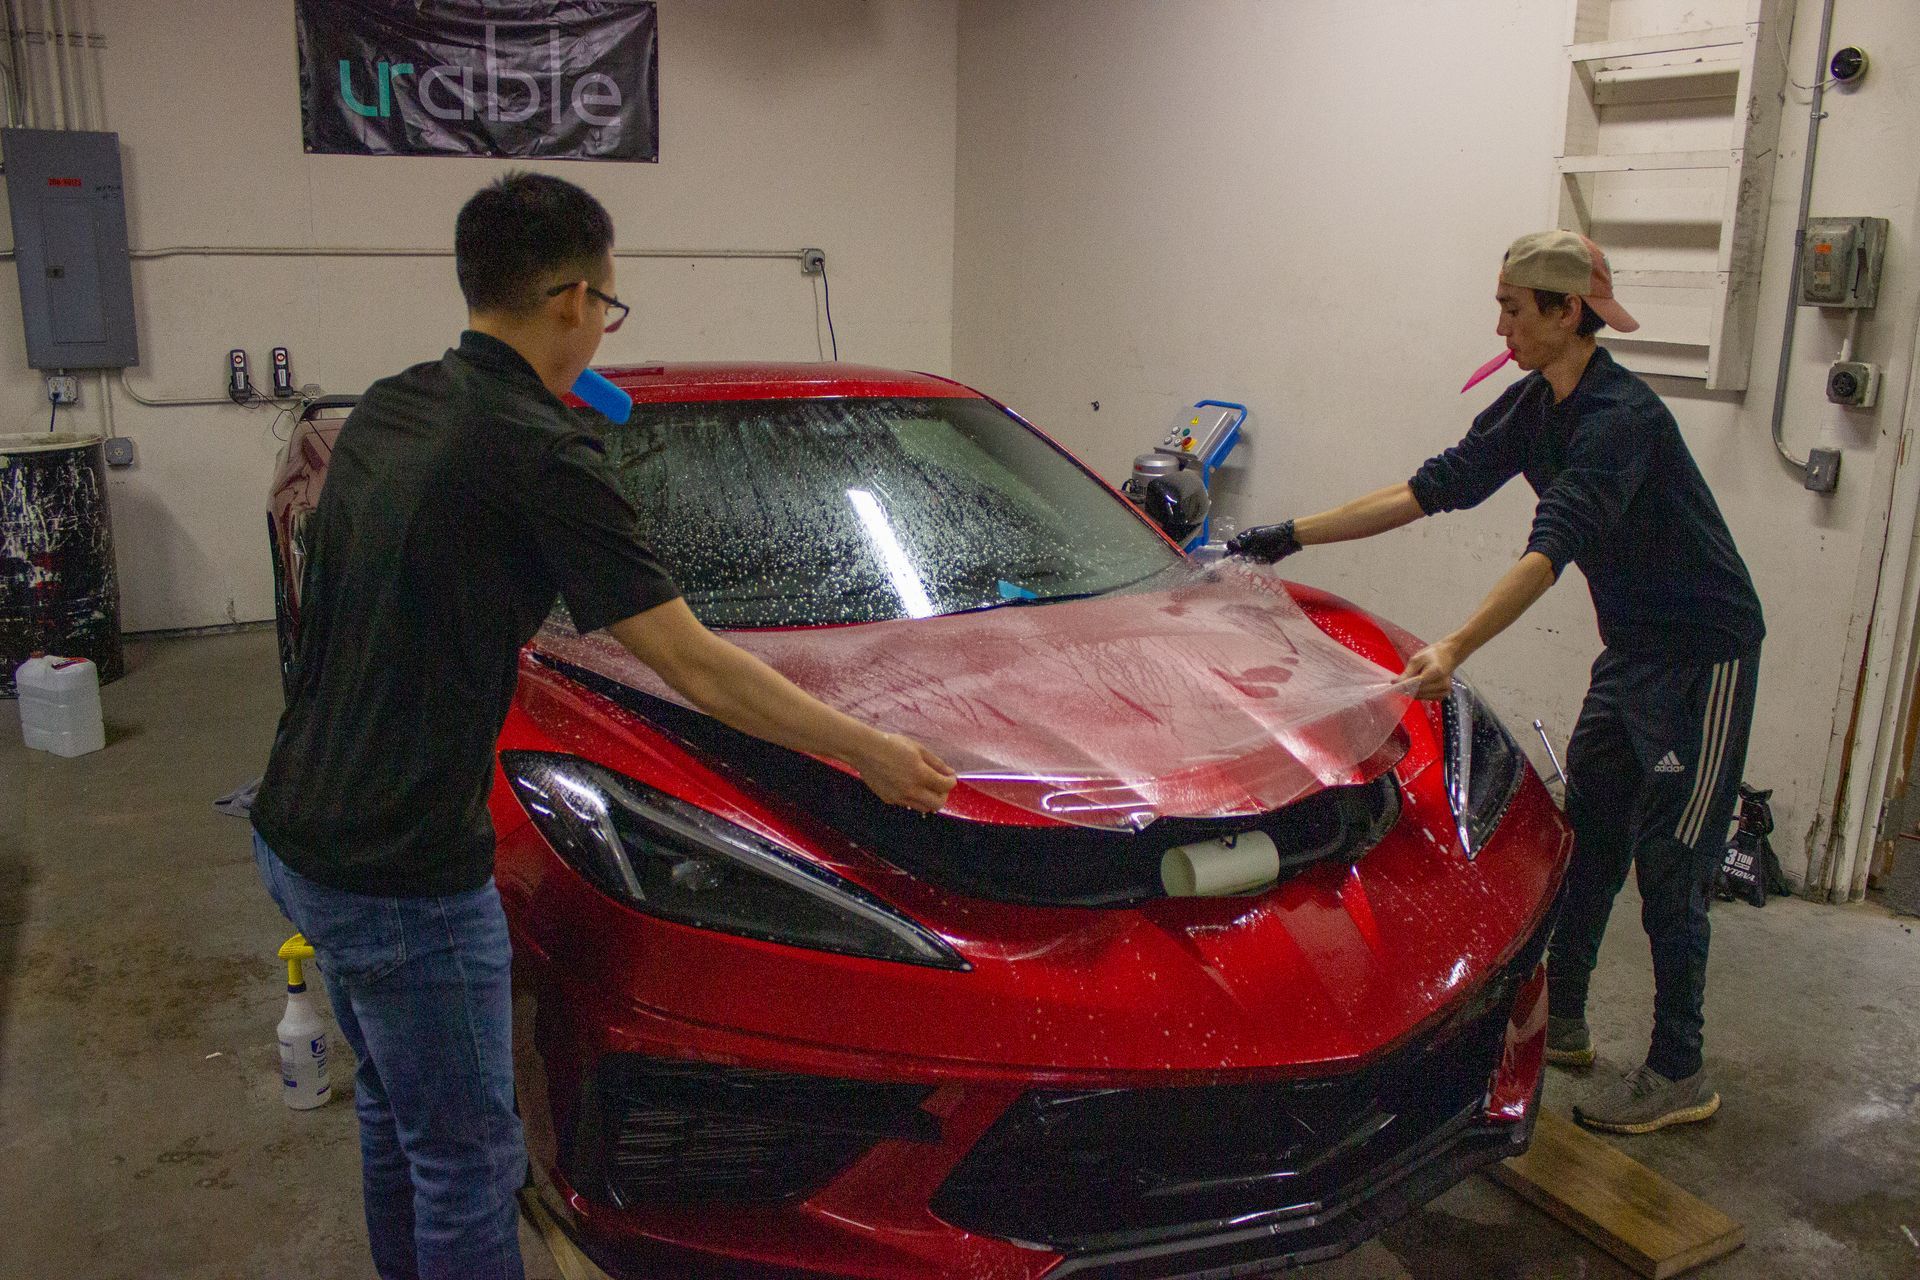
FILM APPLICATION AND BUBBLE MANAGEMENT
Applying window tint film requires precision and attention to detail to achieve a seamless finish without unsightly bubbles or creases. Here's a step-by-step guide to assist you in the process:
- Prepare the windows: Ensure that the windows are thoroughly cleaned and free from any dirt, dust, or debris. Use a glass cleaner and lint-free cloth to achieve a pristine surface.
- Measure and cut the film: Measure each window before cutting the tint film to size. Leave a slight overlap on all sides to account for any adjustments during the installation process.
- Mist the window: Spray a light mist of soapy water onto the cleaned surface of the window. This will help the tint film adhere smoothly and allow for easy repositioning if needed.
- Apply the film: Gently place the cut tint film onto the window, starting from the top and working your way down. Use a squeegee or card to push out any air bubbles or creases towards the edges.
- Smooth out bubbles: If you encounter any bubbles during the application process, use your squeegee or card to carefully smooth them out from the center towards the edges. Ensure there are no trapped air pockets that can compromise the final result.
- Trim excess film: Once you've successfully applied and smoothed out the film, trim off any excess material with a sharp utility knife or blade carefully. Be cautious not to damage the window or surrounding surfaces.
- Wait for curing time: Allow sufficient time for the adhesive to cure and bond with the glass surface before rolling down your windows or cleaning them. Follow the manufacturer's instructions for the recommended curing time.
While this step-by-step guide provides an overview of film application and bubble management, it's important to note that achieving flawless results may require practice and patience. If you're unsure about tackling this task yourself, it's always advisable to seek professional assistance from experienced technicians who can ensure a seamless application without any imperfections.
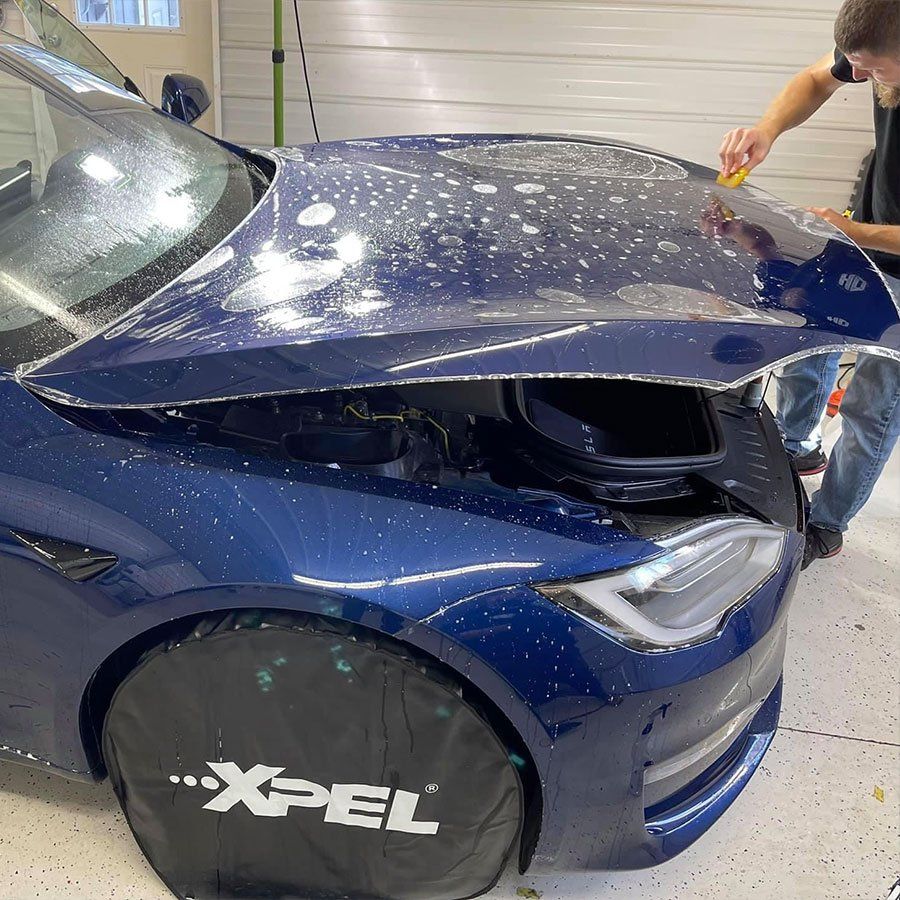
EMPLOYING THE ROLLER AND SQUEEGEE TECHNIQUE
When it comes to achieving a professional-looking car window tint, the roller and squeegee technique is an essential step in the process. This technique involves using a special tool, such as a hard roller or squeegee, to smooth out the tint film on the window surface.
To begin, ensure that the tint film is properly positioned on the window. Start by spraying a light mist of soapy water onto the film and window surface, which will help reduce friction during the installation process. Next, use the roller or squeegee to gently push out any air bubbles or wrinkles from beneath the film.
Imagine you're installing tint on your car's rear windshield. With steady hands and even pressure, start at the top center of the window and work your way down vertically. Move the roller or squeegee in smooth and overlapping motions, ensuring that the film adheres evenly across the entire surface.
TRIMMING EXCESS FILM AND REFINEMENTS
After successfully applying the tint film to your car's windows, it's crucial to trim off any excess film and make refinements for a polished look. Here are some steps to follow:
- Use a sharp utility knife or precision blade to carefully trim away excess film around the edges of each window pane. Take your time and make precise cuts along the window frame, ensuring a clean and neat finish.
- For curved windows or intricate shapes, take extra caution while trimming to maintain clean lines without damaging the surrounding areas. It may be helpful to use a heat gun or hairdryer to soften the vinyl slightly, making it more pliable during this process.
- Once you have trimmed the excess film, use a towel or lint-free cloth to gently press and smooth out any remaining air bubbles or wrinkles. This step helps ensure the film adheres firmly to the glass surface.
Lastly, stand back and inspect your work from both the interior and exterior of the car. Pay attention to any visible imperfections, such as uneven edges or trapped air bubbles. If necessary, use the squeegee or your fingers to push out any remaining air bubbles and make final refinements.
Post-Tinting Care Instructions and Tips
Congratulations on successfully tinting your car windows! Now, it's important to take proper care of the newly tinted windows to ensure they last longer and maintain their pristine appearance. Here are some post-tinting care instructions and tips to follow:
- Avoid rolling down the windows immediately:
After window tinting, it's crucial to leave the windows rolled up for at least 24 to 48 hours. This allows the adhesive to fully cure and ensures a strong bond between the film and the glass.
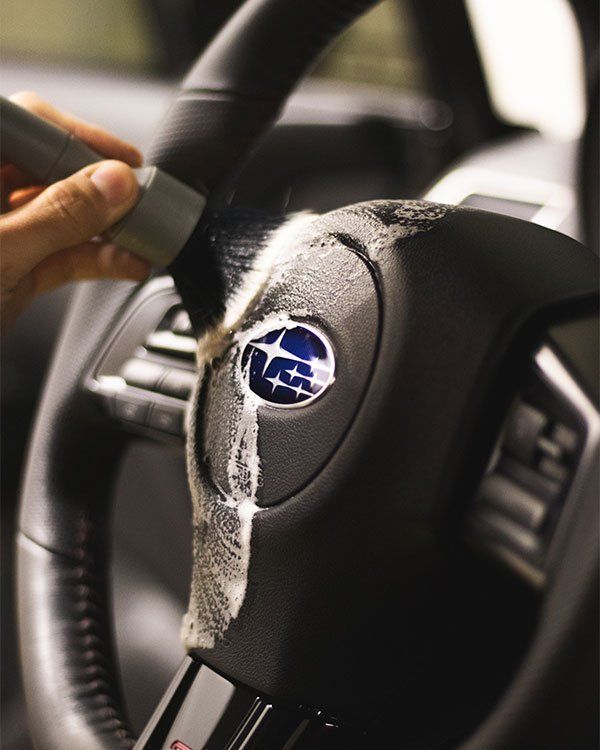
- Be gentle when cleaning: When cleaning your tinted windows, use a soft, non-abrasive cloth or microfiber towel. Avoid using harsh chemicals or abrasive cleaners, as they can scratch or damage the tinted film. Instead, opt for mild soap or specialized window cleaning solutions designed for tinted windows.
- Give it time to dry: If you notice any water spots on the freshly tinted windows, don't worry! These spots are normal after tinting. Allow them to air dry naturally, as wiping or rubbing them can cause damage to the film.
- Avoid using stickers or adhesive materials: Applying stickers or adhesive materials directly onto the tinted windows can cause the film to peel or bubble over time. If necessary, place stickers on an un-tinted area of the window or consider alternative placement options.
- Be mindful of sharp objects: While modern window films are durable and resistant against minor scratches, it's still best to avoid sharp objects coming into contact with the tinted surface. This includes sharp keys, jewelry, or any other sharp items that could potentially damage the film.
- Regular maintenance is key: To keep your tinted windows looking their best, regular maintenance is essential. Periodically clean both the interior and exterior of the windows using a gentle touch and recommended cleaning products. This will help remove any dirt, grime, or fingerprints that may accumulate over time.
Remember, proper care and maintenance are key factors in maximizing the lifespan and appearance of your tinted windows. By adhering to these guidelines, you can prolong the life of your window tint and continue enjoying the benefits it brings, such as improved privacy, reduced heat, and protection against harmful UV rays.
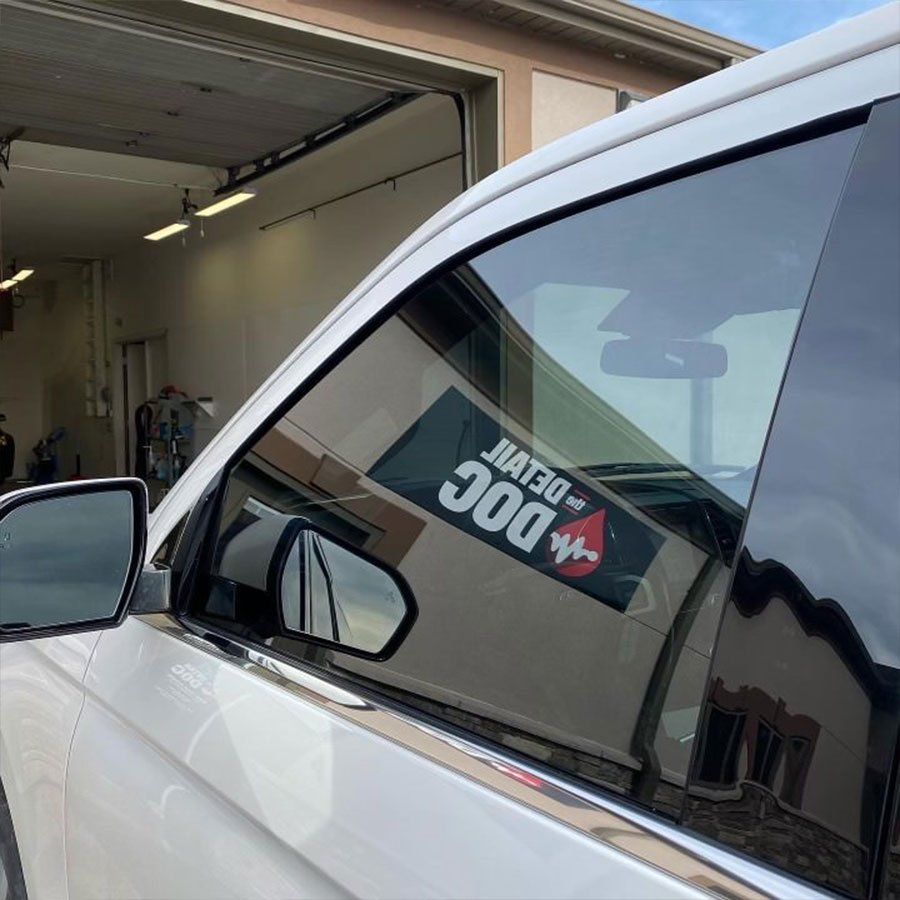
Professional Or DIY Window Tinting Learn From The Expert
Undergoing our comprehensive guide to window tinting reveals the precision and expertise required for outstanding results. At The Detail Doc, we understand the
significance of professional window tinting services for your vehicle. Our experienced specialists ensure not only flawless installation but also compliance with legal standards for optimal longevity and performance.
When it comes to window tinting, experience is crucial; DIY attempts may compromise its protective shield. Trust The Detail Doc's professional car care specialists for top-of-the-line window tinting and
ceramic coating services that ensure both top aesthetics and long-term protection of your vehicle. Make an appointment now to benefit from premium car care and safeguarding!
The Detail Doc Blog