

The Detail Doc Blog
How to Remove Ceramic Coating: Step-by-Step Guide for Car Paint
(989) 244-0505 GET SCHEDULED NOWRemoving ceramic coating from your car's paint might seem daunting, especially if you're worried about harming that flawless finish. Many auto enthusiasts, despite their passion and diligence, find themselves at this crossroads—frustrated by hours spent scrubbing or anxious about every potential damage.
In our quest to offer you clear solutions, we've dug deep into proven methods discussed in detailing forums and tested by professionals over countless weekends. Surprisingly, with the right set of tools and careful steps, achieving that pristine surface is not only possible but simpler than you might think. Let's first gather everything you'll need for this process.
To remove ceramic coating, start with a thorough cleaning and preparation session by rinsing the vehicle and using a decontamination product to remove contaminants. Methods for removing ceramic coating include using nail polish remover, using a clay bar, or using a car detailing product specifically designed for ceramic coating removal. Always test the properties of the ceramic coating before attempting to remove it completely.
Gather Your Tools and Materials
Removing ceramic coating from your car is a multi-step process that requires the right tools and materials to ensure a safe and effective removal. Here are the essential items you'll need:
- Microfiber Towels: Essential on the delicate paint of your car.
- Clay Bar: Used for decontaminating the car's surface after the initial cleaning stage, it helps remove any embedded dirt or contaminants.
- Wet Sandpaper (1500-2000 grit): Required for gently abrading the ceramic coating if you're opting for the wet sanding method.
- Polishing Compound: Crucial for breaking down the tough ceramic coating, making it easier to remove.
- Dual-Action Polisher: Used to mechanically polish the surface, helping to further break down and remove the ceramic coating.
- Detailing Spray: Serves as lubrication for both the clay bar and polishing processes, ensuring that these abrasive methods do not harm the underlying paint.
- Buckets and Sponge: For a proper wash before starting the removal process, ensuring that the car's surface is clean and clear of any debris.
- Masking Tape: Crucial for precision and protecting delicate elements of your car from sanding or polishing.
Now that we've covered everything you need to get started, let's dive into the step-by-step process of removing ceramic coating from your car's paint. This will ensure that you have a clear understanding of each stage of the removal process and how to use these tools effectively.
Cleaning and Preparing the Surface
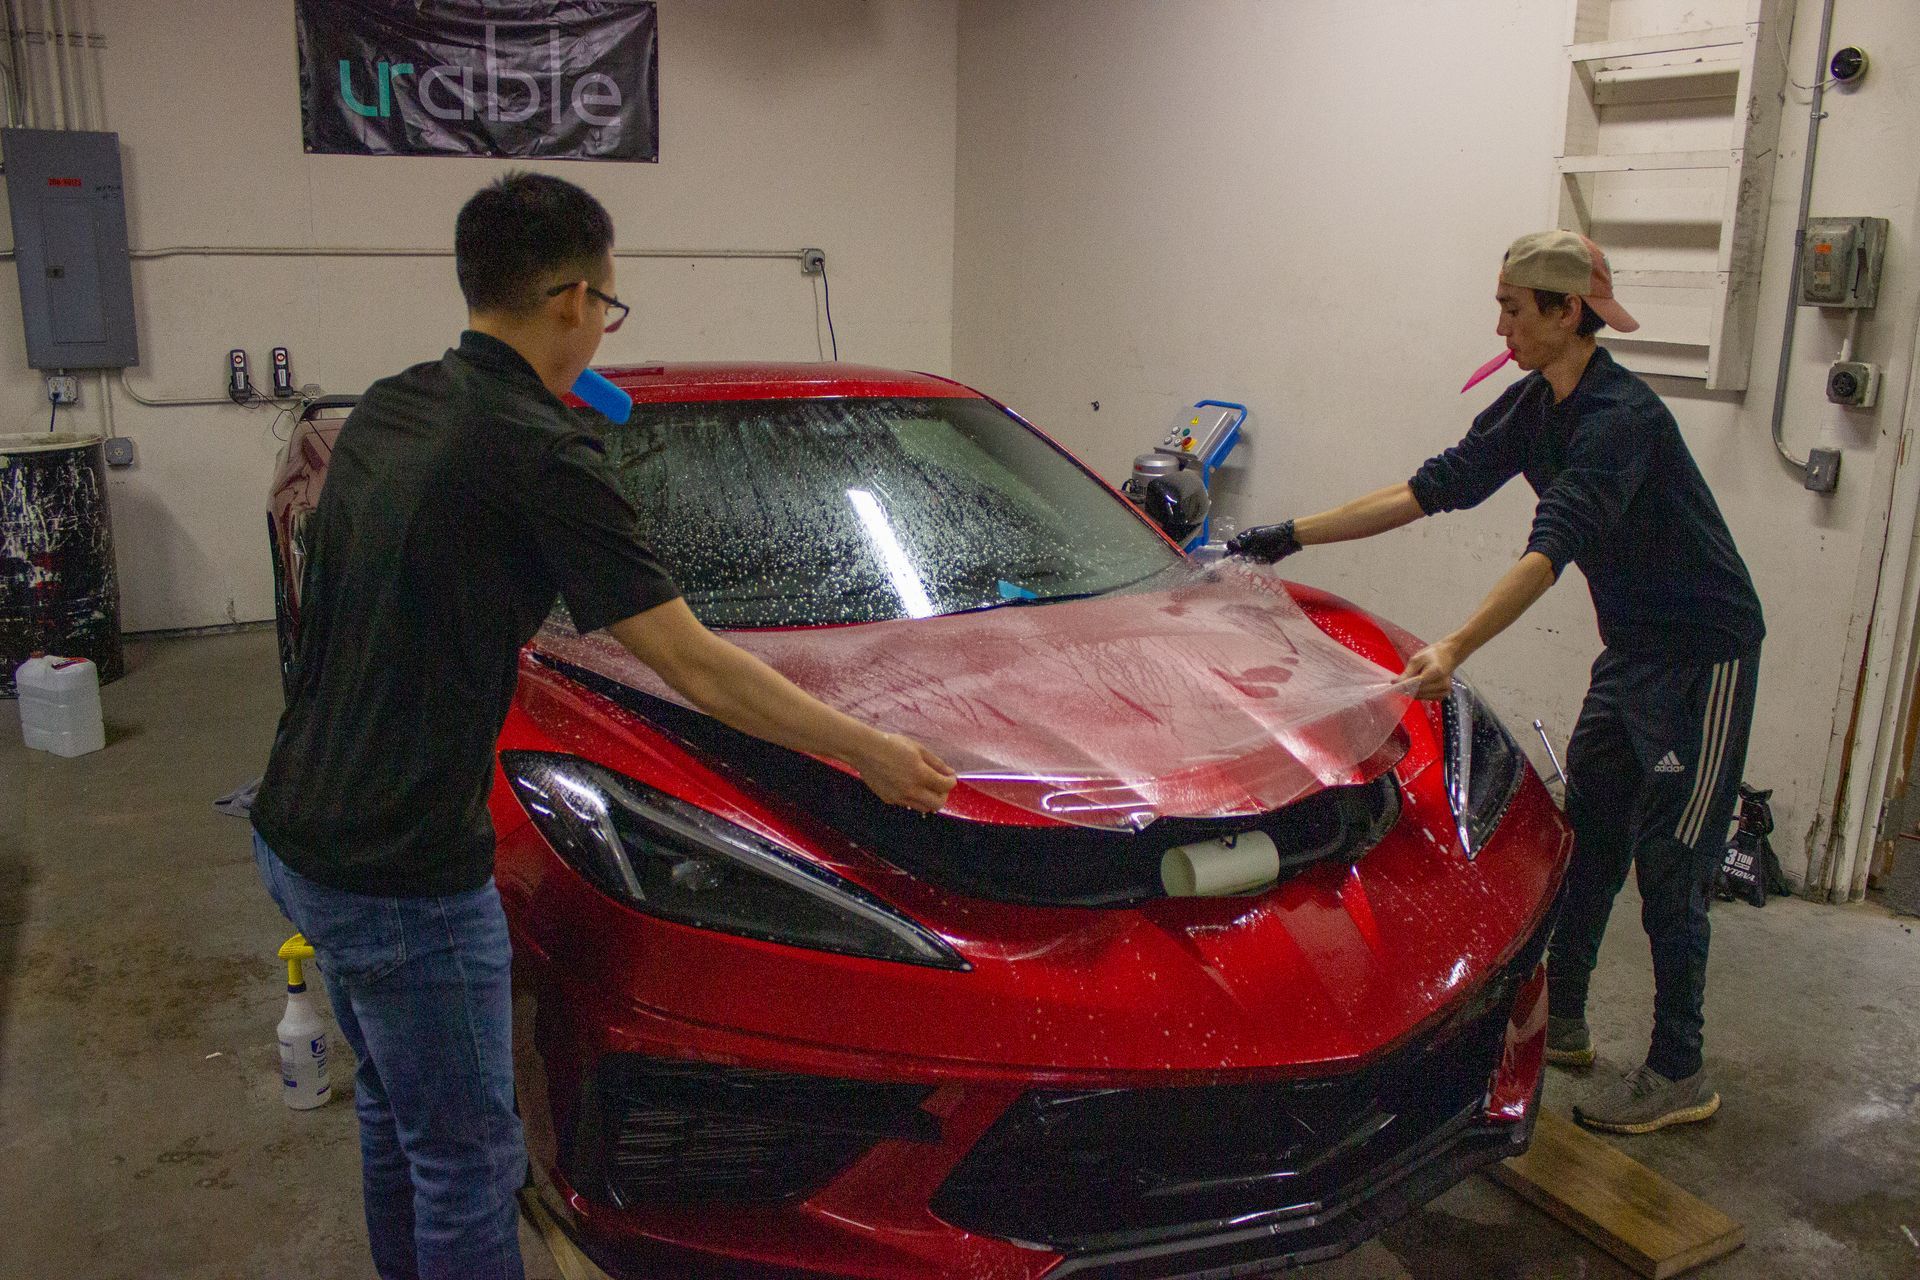
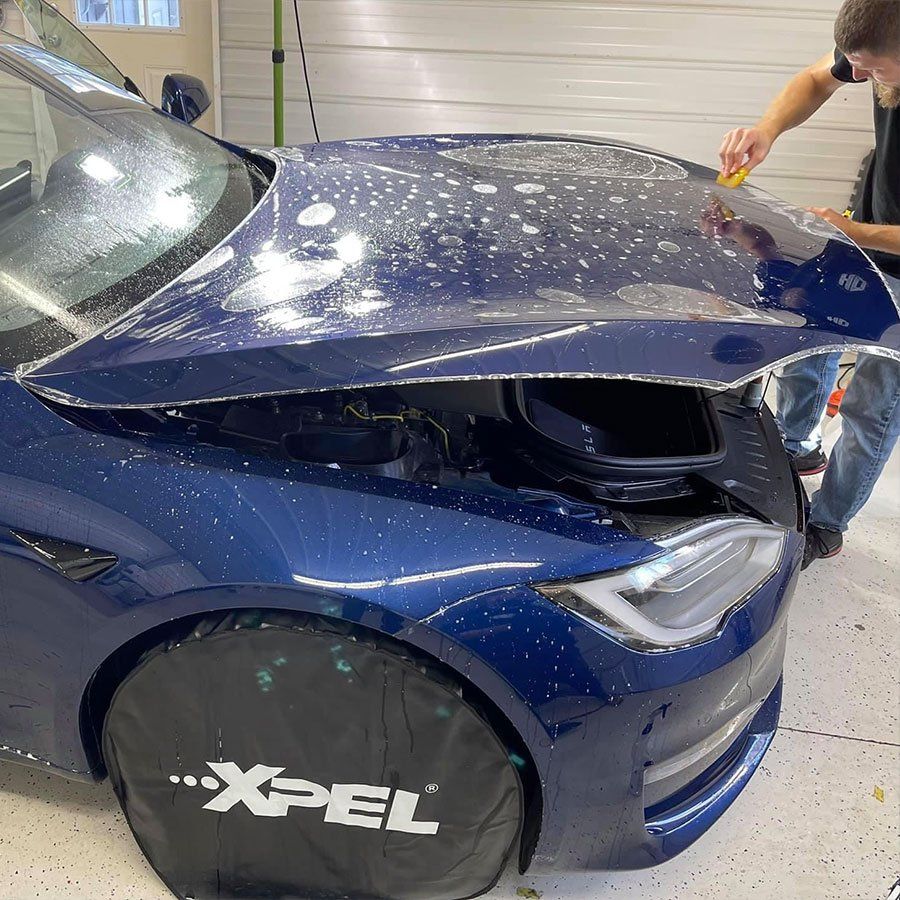
Before embarking on the removal of a ceramic coating, it's imperative to ensure that the car's surface is clean and ready. The initial wash is more than just a regular car wash. It lays the foundation for effective removal and prepares the surface for what comes next.
Step I - Initial Wash
The first step involves using a specialized car shampoo that is free from wax or any silicon-based additives. This allows for a thorough wash without leaving behind any residues that might interfere with the removal process. Ensure that all areas are effectively cleaned, and then rinse the car thoroughly to remove all soap residues.
The goal here is to clear away not only the visible dirt and grime but also any hidden particles that could compromise the ceramic removal process. A clean surface sets the stage for a successful coating removal process.
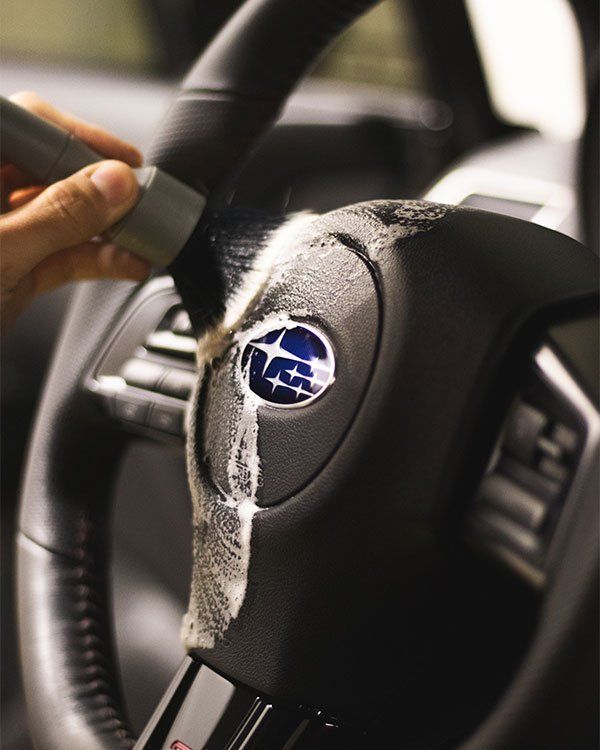
Step II - Decontamination
Following the initial wash, it's important to address embedded contaminants that regular soap couldn't handle. This is where a clay bar and detailing spray come into play. The detailing spray acts as a lubricant, allowing for smooth gliding of the clay bar to effectively pick up any embedded particles. Gently glide the clay bar over small sections of the car until the surface feels smooth to the touch.
It's amazing how much difference this step can make. What might seem like a smooth finish at first glance can reveal hidden roughness once decontaminated, making it clear why thorough preparation is key.
Step III - Drying
Once everything is clean and free from contaminants, it's crucial to ensure that the car is completely dry. Use microfiber towels to dry the car thoroughly, ensuring no water spots are left behind. Proper drying not only prepares the surface for the subsequent stages of coating removal but also prevents any additional residues that could interfere with the process.
With the car now meticulously cleaned and prepped, we've laid down a solid groundwork for effectively tackling ceramic coating removal. Now let's dive deeper into the actual removal process.
Wet Sanding Method
Wet sanding is a precise and meticulous technique used in automotive detailing to remove thin layers of paint or coatings without causing damage. It's especially useful for removing ceramic coatings, as it allows for gentle removal without compromising the integrity of the paint underneath.
Here's how wet sanding works: Instead of dry sandpaper, you'll be using wet sandpaper soaked in water. The water acts as a lubricant, reducing friction and heat, which prevents your vehicle's paint from being damaged.
Steps for Wet Sanding:
- Masking: Before you start wet sanding, carefully tape off edges, badges, and any areas you don't want to sand. This will protect them from accidental damage during the process.
- Prepare Wet Sandpaper: Soak 1500-2000 grit wet sandpaper in water for about 15 minutes. This ensures that the paper is pliable and less likely to cause damages on your car's surface.
- Sanding: Starting with a small section, gently sand the surface in straight lines using the soaked sandpaper. Keep the area wet by periodically spraying or dipping it in clean water to prevent excessive friction.
- Monitoring Progress: Check your progress frequently by inspecting for dull areas where the ceramic coating is being removed. This helps ensure that you are effectively removing only the coating while preserving the integrity of the paint beneath.
- Rinse and Dry: After completing the sanding process, rinse the area with clean water and then dry it thoroughly using a microfiber towel. It's important to inspect the area carefully to ensure that all signs of the ceramic coating have been effectively removed without causing damage to the underlying paint.
So there you have it; wet sanding may require patience and precision, but it provides a safe and effective method for removing ceramic coatings from your car's paintwork without causing harm.
In this high-stakes game of pinching pennies and strategic purchasing, being well-informed may very well be your ace in the hole. Let's turn now to explore one such prized possession—the machine I crown champion in my digital arena.

Using a Chemical Polish Remover
When it comes to removing a ceramic coating, a chemical polish remover is a popular option that is not only effective but also less aggressive than some other methods. Here's a step-by-step guide to using this approach:
Step 1 - Select the Right Compound
First and foremost, choose a high-quality polishing compound specifically formulated for the removal of ceramic coatings. Look for one that is gentle on your car's paint while still being effective at breaking down the protective layer of the ceramic coating. Once you have the right compound, it's time to move on to the application process.
Step 2 - Application Process
Using a soft applicator pad, apply a small amount of the chosen polishing compound. It's crucial to use a pad that won’t damage the surface of your vehicle. Remember, precision is key here; so, start with a small amount of compound and gradually add more if needed. This will help ensure that you don't over-apply the compound, which could potentially damage the underlying paint.
Step 3 - Buffing in Circular Motions
Once the compound has been applied, begin buffing it onto the surface of your vehicle in small, circular motions. Working in small sections allows for better control and ensures that you achieve an even coverage. This methodical approach helps to break down the ceramic coating effectively without causing harm to the underlying paint.
Step 4 - Wiping off Residue
After buffing the compound onto the surface, it's essential to wipe off any excess residue with a clean microfiber towel. This step allows you to inspect whether the ceramic coating has been successfully removed. If there are remnants of the coating, reapplication of the compound may be necessary in those specific areas.
Step 5 - Repeat as Needed
In cases where certain parts of the ceramic coating prove more stubborn to remove, reapplying the compound becomes necessary. However, it's crucial to exercise caution and avoid over-applying the compound, which could lead to unintended damage to the paintwork. Taking your time and being diligent in this process can ensure an effective removal without compromising the integrity of your vehicle’s exterior.
By following these steps diligently and exercising proper care during each stage of this method, you can safely and effectively remove ceramic coating without causing any harm to your vehicle's paintwork.
As we venture into unveiling techniques for restoring your car's shine post-ceramic coating removal, let's dive into the mechanical polishing process.
Mechanical Polishing Process
When it comes to removing ceramic coating, using a dual-action polisher with the appropriate pad and polish is an efficient and safe method. Let's walk through the steps:
Step 1 - Preparing the Equipment
Attach a polishing pad to your dual-action polisher, specifically designed for this purpose. Then, apply a small amount of polish to the pad.
Step 2 - Setting the Speed
Set the polisher to a moderate speed to avoid excessive heat buildup, which could potentially damage the paint.
Step 3 - The Polishing Process
Work in small sections, typically around 2x2 feet at a time. Move the polisher in overlapping passes to ensure even removal of the ceramic coating. Keep the pad flat against the surface for uniform and effective removal.
Step 4 - Wiping Clean
After each section, wipe away the polish residue with a clean microfiber towel. Thoroughly inspect the area to ensure that the ceramic coating has been effectively removed, as any remnants left behind can affect the new protective layer you intend to apply.
Maintaining the luster and protection of your vehicle's surface adds value and longevity to your investment. Call us at (989) 244-0505 and schedule an appointment to give your car the exceptional care it deserves.
The Detail Doc Blog